whenever i’m spending a day outdoor, i love to take pictures, many of them turn out to be panoramas.
sometimes i leave my camera at home and only have my mobile phone with me. shoothing panoramas with the iphone is possible with panolab [link opens itunes], but very cumbersome. and i try to keep the annoyance of nina as low as possible while stopping on the slopes, so fiddling with my phone for longer than a minute or two is not an option.
recently i was thinking about a quick-and-dirty way of creating panorams with the iphone: wouldn’t it be possible to extract the images of a movie shot while panning the scenery and stitch those together to generate a panorama? today was the perfect way to test this out, on the slopes of the wonderful stockhorn.
the whole process is fairly easy, you only need
all these – very fine – pieces of software are freely available, most of them even free as in beer and as in speech.
step 1:
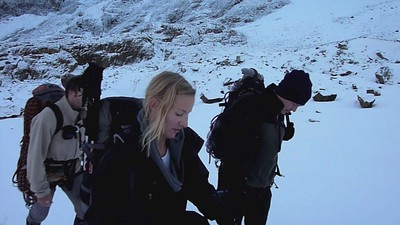
shoot a movie.
below are the movies i’ve used for this tutorial. both are made with the excellent cycoder.app, only for jailbroken iphones. use any other movie if you don’t have an iphone :) the movies are 384×288 pixels in size, as shown below, just press the play-button.
step 2:
get the movies off your iphone.
cyberduck and SFTP are my weapons of choice, YMMV, but there are tons of tutorials on the web, here’s one for the mac and here’s one for windows.
now you should have some movies on your hard-disk. cycoder has the nice feature to produce quicktime-compatible .mov-files, if you don’t have one of those handy, again, YMMV. (use the excellent handbrake to convert to and fro). quicktime is nice for the next step.
step 3:
import the movies into imageJ.
if you’re on a mac, this is just simple drag-and-drop, on windows you might be quicker altogether if you convert your movies to .avi-files, since installing quicktime for java can be a bit of a hassle, but can be done.
this opens your quicktime movie as a stack of images you can then scroll through. this image-stack can then easily be exported as an image-sequence using “File > Save as > Image Sequence…”. rotate the images if you’ve been dumb enough to hold the iphone wrong :)
then you’ll have a bunch of single images on your harddisk. if you’ve panned quite slowly like i have done, you’re probably gonna have much too many images (167 for the first and 139 for the second movie) to easily stich a panorama. for these movies, i’ve removed some images from the stack using the slice remover plugin. remove slices that are unnecessary like the ones at the beginning and the end, where your glove covers the lens. now having 20 and 32 images from both movies, proceed to the next step.
step 4:
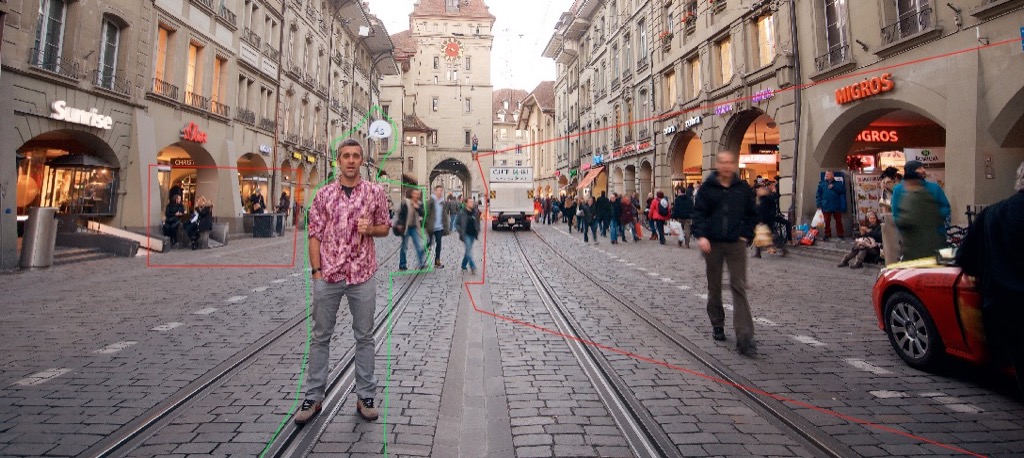
import the images from the step above into hugin, align and stitch.
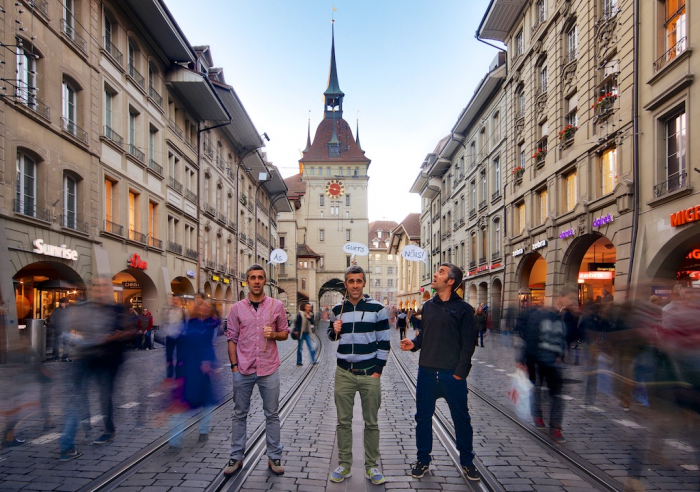
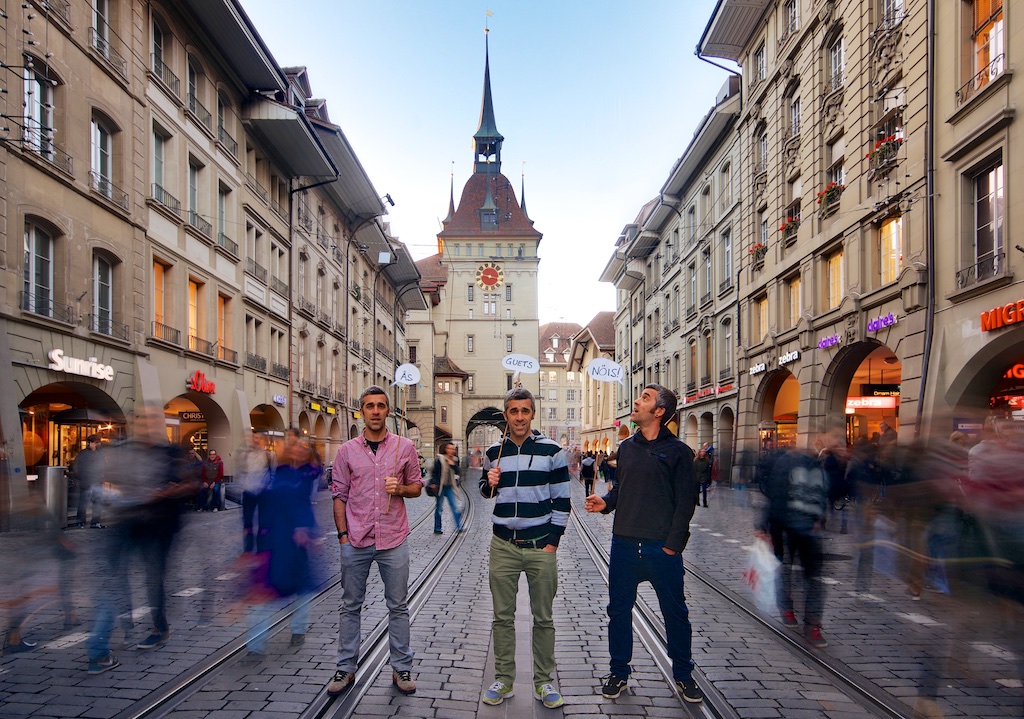
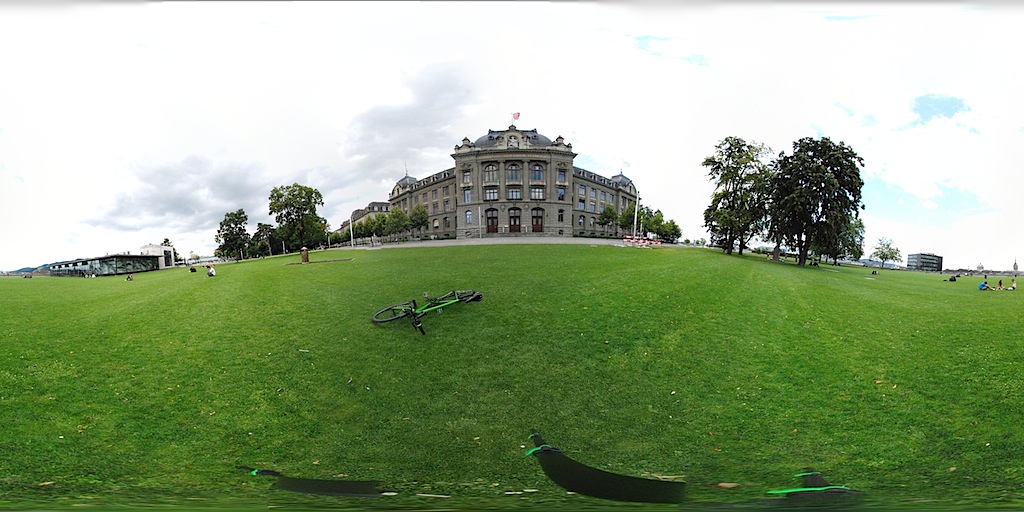
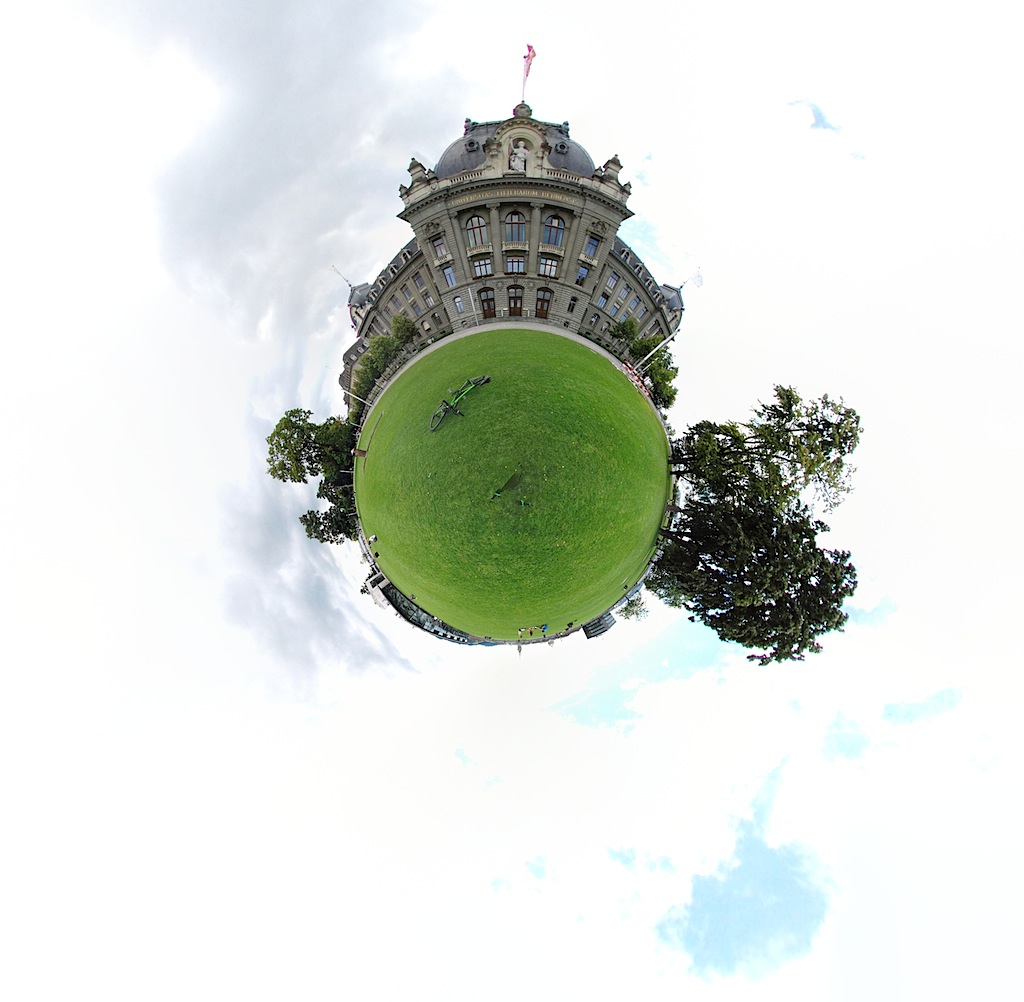
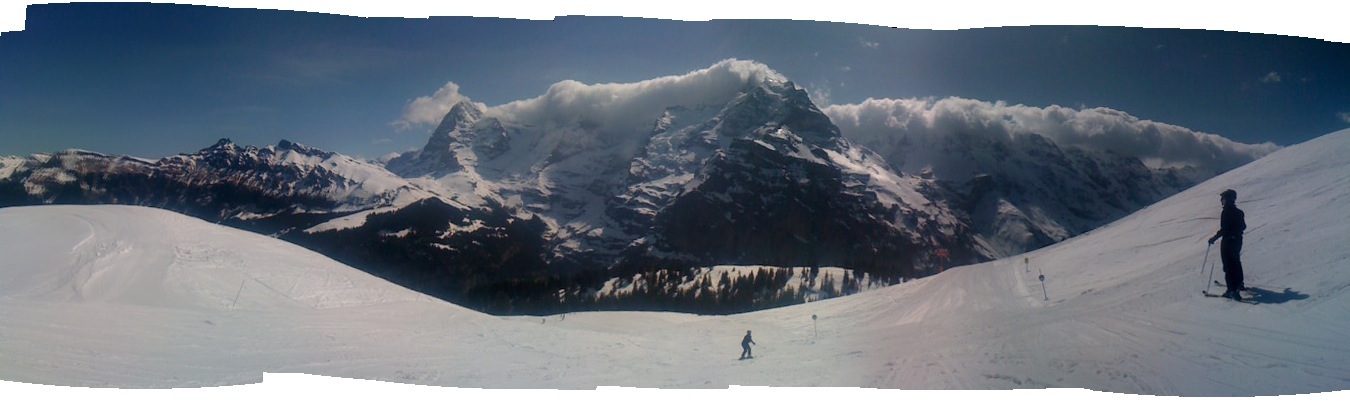
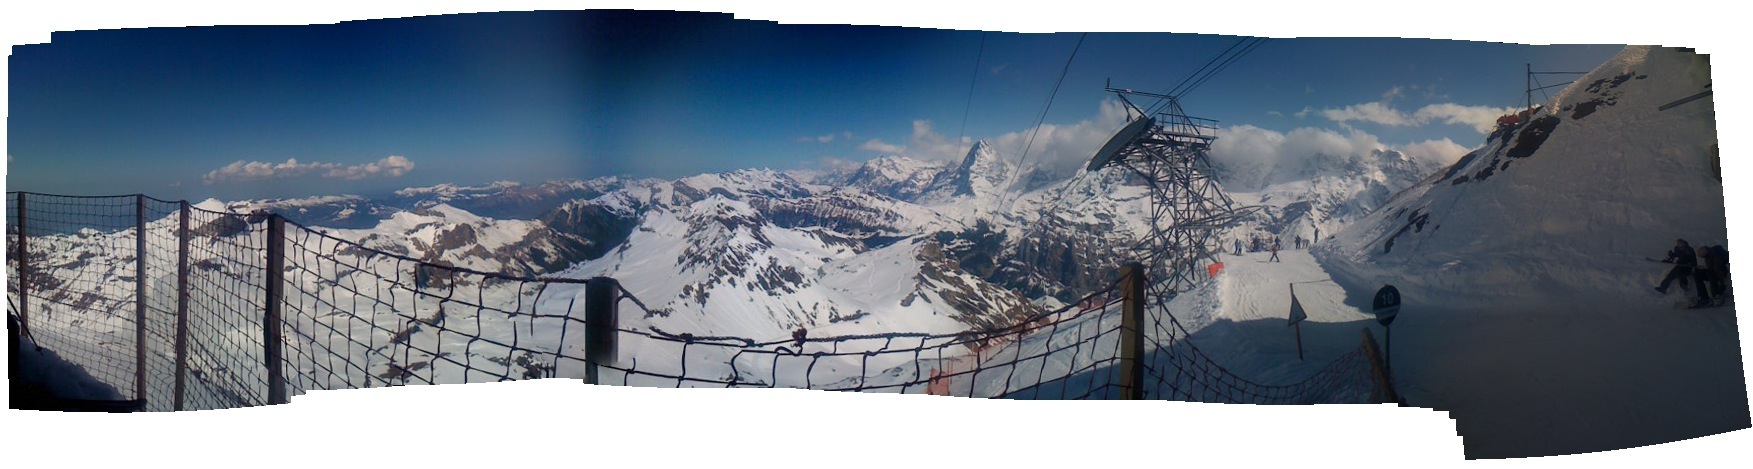
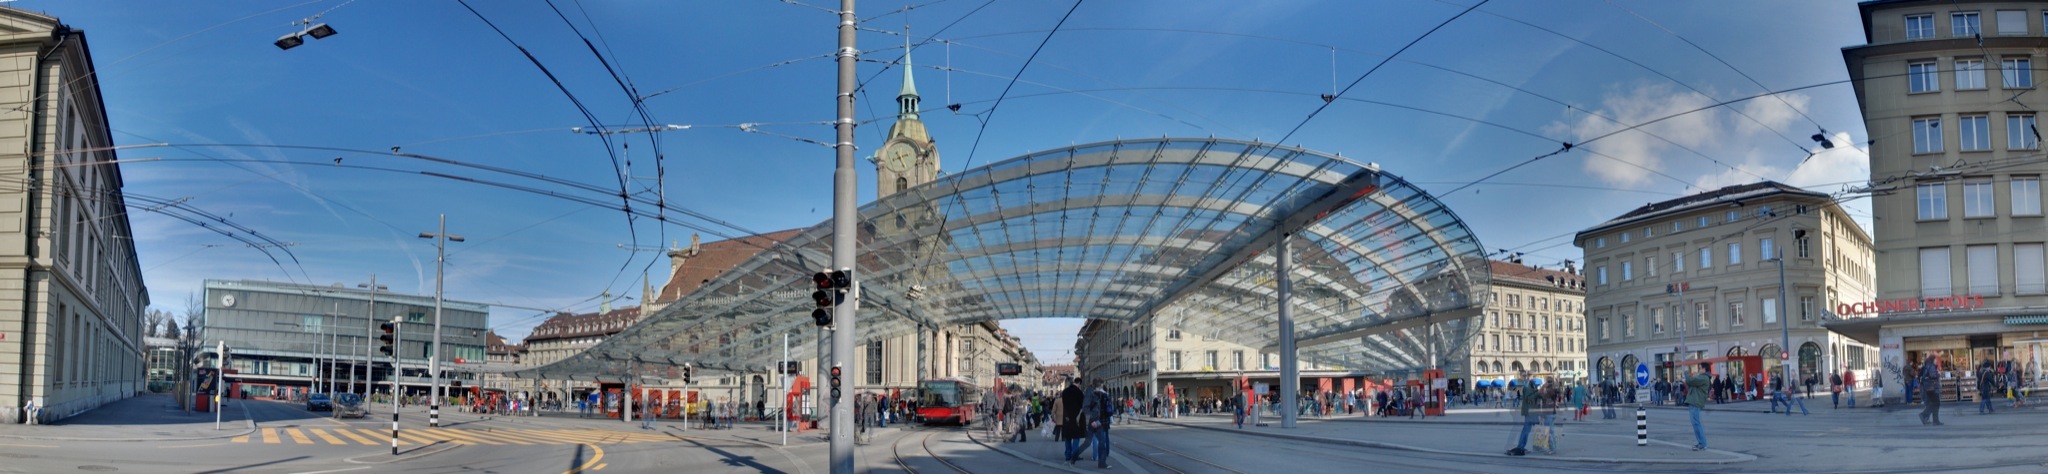
yes, that’s it, it’s really that easy. for the movies shown above i’ve also deleted some bad control points and stitched the panoramas normally and enfused, but this is entirely optional.the end-result looks like the images below. click them to see them bigger.
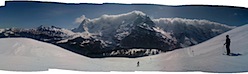
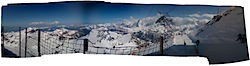
i know that both panoramas are not perfect. both are quite small, especially the second one has some artifacts and both have varying exposure. but keep in mind that i’ve only bothered nina for 29 seconds, the total time of both movies. not too shabby!
update:
arru from sweden left a comment about extracting the frames of videos using VLC, which is great, because it plays pretty much any movie-format.
since i couldn’t find it, i asked him to outline it for me via email. he agreed that i share his howto, which you can find below:
Extract frames in VLC:
- Open VLC preferences, select “all” (as opposed to “basic”)
- Go to Video->Output modules
- Select ‘Image video output’ (this must be reverted to ‘standard’ when you’re done, to use VLC as a normal video player again)
- Flip down the subgroup next to Output modules and select ‘Image file’
- Choose ‘PNG’ as format (JPEG works too, but there will be some unnecessary quality loss)
- Set ‘recording ratio’ to 10 (determines the number of video frames skipped between images – may need to experiment with this value if images don’t overlap correctly)
- Press ‘save’ to exit VLC preferences
- Open and play the video in question as you normally would (notice: there will be no picture – sound however, if applicable, and the VLC controls will move to show you the progress of the conversion)
- Images are saved to the root of the main HDD on Mac OS X ( / ), on Windows I can only assume it will be C:
- Don’t forget to reset step 2 to ‘Standard’ when you’re done
- Throw images into Hugin and run one of the autopano scripts, and so forth
Thanks for that info, Arru!